
.webp)
![]()
Agility
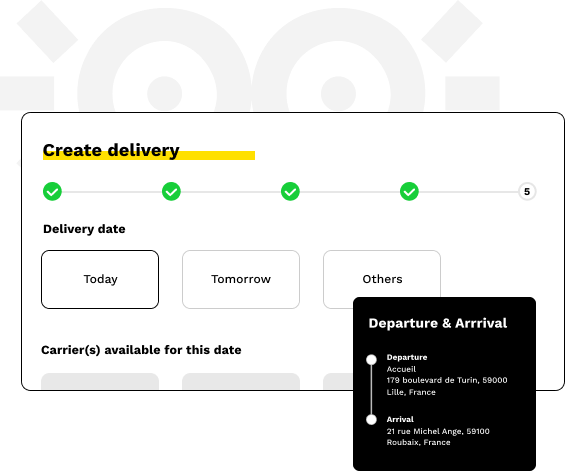
Deploy multiple delivery options to support business growth and enhance your delivery promise to customers.
![]()
Cost reduction
Challenge several carriers in real time and get the best transport offer for each order: Start saving from your first delivery!
![]()
Customer experience
Woop improves the delivery experience and allows you to take control of post-purchase communication with your customers.

![]()
Prior to delivery
![]()
During delivery

![]()
After delivery
![]()
An innovative technological platform
and business expertise

A network of over 400 carriers
Enabling you to offer a wide variety of delivery options and guarantees: International, national and local carriers, bike couriers, collaborative platforms, etc.

Business expertise to ensure the success of your transformation
Woop also has business experts who advise and support you through a holistic transformation of delivery processes and customer experience.

A scalable and GDPR-compliant SaaS solution
The Woop platform has been designed to be scalable to meet your performance needs. We prioritise the security of the personal data you entrust to us.

